In the digital age, we take thousands of photographs, yet ironically, fewer are printed and displayed than ever before. Our most precious memories—family gatherings, travel adventures, and milestones—often remain trapped on hard drives and cloud storage. A house truly becomes a home when it is infused with personality and history, and there is no better way to achieve this than through the thoughtful display of household photographs.
However, simply sticking snapshots onto a refrigerator or lining up mismatched frames on a shelf can lead to visual clutter. The key to successfully integrating photographs into your interior design is intentional curation and strategic placement. This guide provides expert recommendations on transforming your digital memories into stunning, mood-boosting features that personalize your living space and tell your unique family story.
Recommendation 1: Curate for Impact – Less is Truly More
The goal is to select photographs that evoke strong emotion and possess aesthetic quality, not to display every single image you’ve ever taken. Over-saturation dilutes the power of each individual memory.
Themed Collections
Instead of mixing photos from vastly different eras or events, group them thematically.
- Color Palette: Choose a collection of photographs, perhaps from a beach vacation or a snowy holiday, that share a dominant color palette. Print them using a consistent filter (e.g., all black and white, or all sepia tones) for a sophisticated, cohesive look.
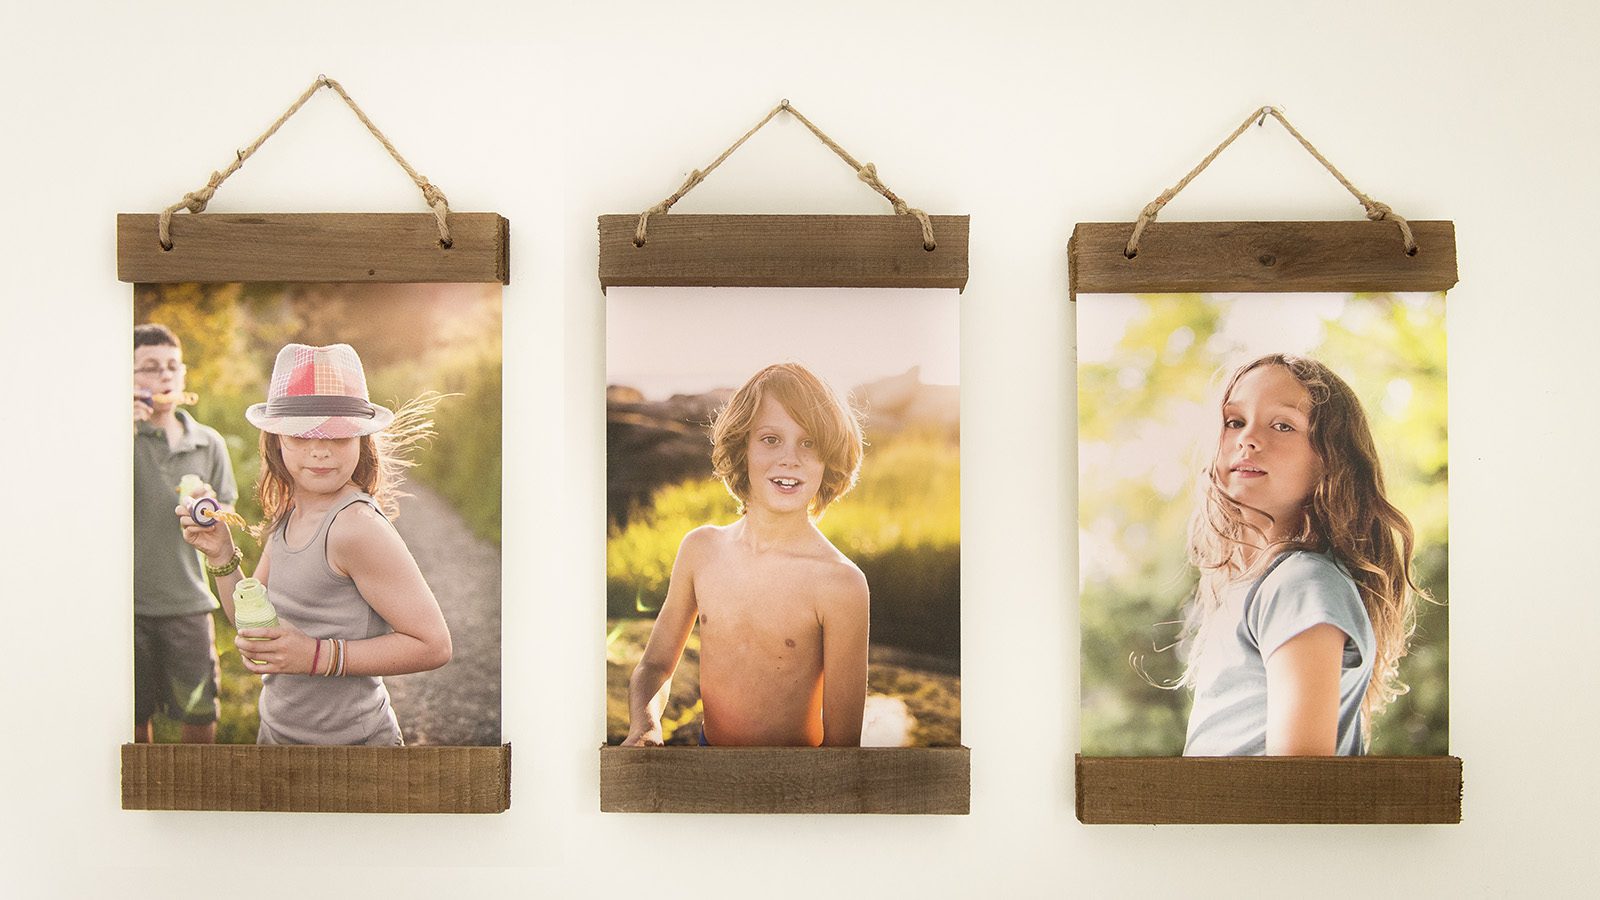
- Milestones: Create a gallery wall specifically dedicated to a single life event, such as the growth of a child, wedding anniversaries, or a significant adventure. This focused narrative is emotionally powerful.
- The “Mood” Shot: Select images that primarily evoke a certain feeling—joy, calm, or energy—and place them in the room that best suits that mood. A relaxing sunset photo is perfect for a bedroom; an energetic action shot is great for a hallway.
Quality Over Quantity
Only print photos in high resolution. Pixelated or low-quality images look amateurish when enlarged. Invest in quality printing that utilizes archival paper and proper matting to ensure the longevity of the memory.
Recommendation 2: Master the Art of the Gallery Wall
The gallery wall is a classic, dynamic way to display multiple photographs, but it requires careful planning to look curated, not chaotic.
The Power of Consistent Framing
The easiest way to achieve a professional look is to establish consistency in your framing materials.
- Uniformity in Finish: Use the same frame color and material throughout the grouping (e.g., all black modern frames, all natural wood, or all minimalist white). This uniformity provides a visual boundary that ties disparate photos together, even if the image content varies widely.
- Consistent Matting: Use white or cream matting consistently. Matting provides crucial “breathing room” around the photograph, giving the eye a place to rest and making the entire arrangement look cleaner and more sophisticated.
Layout Planning
Do not hang frames randomly. Measure, plan, and execute.
- The Paper Template Trick: Trace the outline of all your frames onto wrapping paper and cut them out. Use painter’s tape to arrange these paper templates on your wall until you find a pleasing arrangement. This allows you to adjust the spacing and layout before making any holes.
- Center Point Rule: Start by placing the largest or most important photograph at eye level. All other frames should then be placed relative to this central piece, maintaining an even, small gap (usually 1.5 to 3 inches) between all frames.
Recommendation 3: Think Beyond the Wall – Creative Placement Ideas
Photographs don’t have to be confined to traditional spaces. Integrating them into functional areas adds personal charm and surprise.
Shelving and Ledges
Instead of hanging, use floating shelves or ledges to lean framed photographs. This offers several advantages:
- Flexibility: You can easily swap out photos or change the arrangement without damaging the walls.
- Layering: Group frames of different sizes and shapes, slightly overlapping them to create depth and a relaxed, European salon style.
- Mix and Match: Use the ledge to integrate other small decorative objects—vases, small sculptures, or books—alongside your frames for a richer display.
Digital Integration
For those with thousands of photos, use digital picture frames strategically.
- Placement: Place a high-quality digital frame in a common area, like the kitchen or entryway. Set it to rotate through a curated playlist of photos rather than the entire photo library. This keeps the memories fresh without causing visual clutter.
- Thematic Playlists: Create seasonal playlists (summer vacation photos in July, holiday photos in December) for an ever-changing, dynamic display.
Unexpected Locations
Bring photographs into unexpected, intimate spaces for a personal touch. A framed, small image on a bedside table, inside a bookshelf, or tucked onto a home office desk can serve as a powerful personal anchor and mood booster throughout the day.
Conclusion
Household photographs are the soul of your home. By being intentional about curation (choosing the best images), mastering the gallery wall (using consistent framing and careful layout), and integrating photos into creative, unexpected locations, you transform these digital files into tangible, beautiful design elements. The result is a personalized space that continually affirms your most cherished memories and enhances your daily sense of belonging and well-being.